After today’s very generous mentions in Vasari Talk 22, I thought I’d better finish up another post. This builds on last week’s layout, with a twist!
It’s very easy to use Dynamo to build ‘dumb’ models, by just placing points at exact coordinates. But I’m intrigued by ways of using Dynamo to build proper parametric Revit components: Placing lots of points quickly to generate complex form, while at the same time relating those points together is useful ways. Last week’s post was a first step on that path, and this post takes it a bit further.
So, last week’s post ended by using a ‘Reference Point on Edge’ node to host a point on a curve. This layout hosts a point on that point’s YZ reference plane, so that as the first point moves, the second point is carried along:
You’ll recognise the arrangement of nodes at the top of the layout from the last post: A pair of reference points connected by a curve (aka straight line), and then a reference point hosted on that curve. The parametric position of the hosted point along the curve is driven by a slider node, and the slider is set to give values between 0 and 1: By moving the slider, the hosted point moves from one end of the curve to the other.
This hosted reference point is fed to a new User node ‘GetCoordinatePlaneReferenceYZ’, which gets the point’s YZ reference plane. The refplane is fed into the ‘face’ input of a ‘Reference Pont on Face’ node, which places a point on the plane. I was surprised that the face input would accept a reference rather than a face, but it’s great that it does.
Now that would be fine, because the plane-hosted point would move with the curve-hosted one, but I was inspired by David Light’s 2010 video of a helical adaptive component to try and make the point move in a helix or spiral, and the set of nodes at the bottom of the layout make that happen.
Helical movement is a combination of moving around in a circle and moving along a line. The slider makes the points move along the line, so I just had to get the plane-hosted point to move in a circle on the plane.
The slider feeds into a multiply node along with the value 2π, and so by moving the slider from 0 to 1, the multiply produces an angle value from 0 to 2π radians. The angle is fed into Sine and Cosine nodes to give Y and Z coordinates, multiplied by the number 20 at the bottom to give a 20 unit radius circle.
The only new User node required was GetCoordinateReferencePlaneYZ, which wraps a snippet of Python that makes the API call:
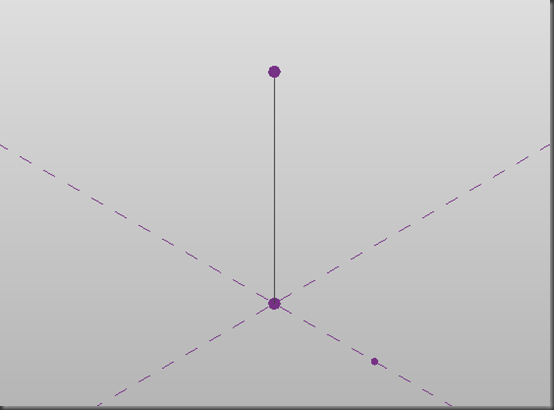
When run, you get a simple line and two hosted points:
When run automatically, you get to slide the line-hosted point up and down the line, while the plane-hosted point moves in a spiral around it:
It’s just unfortunate that the slider is so small on screen that it makes the movement a bit jerky. But I think the video just about shows the idea.
And here’s the source: Spiral Point


No comments:
Post a Comment